
Hey Southern Ridge Trading Company fans, Katelyn here. Today, I've created for you a fun Noel Christmas Tag, that's perfect to use as a gift tag on a present for that special someone in your life for Christmas. You'll want to read below as I share with you how I created my Noel Christmas Tag.

To start, pull out one of the Chipboard Tags from the package. Ink the edges of the tag using Black Soot Distress Ink and a blending tool with foam.

Trace the tag around a piece of patterned paper. Cut the paper tag out. Cut a second piece of patterned paper that measures 3 1/4" x 3 3/4". Distress the edges of each piece of patterned paper. Ink the edges of each piece of patterned paper using Black Soot Distress Ink and a blending tool with foam.

Take out the small Abstract Frame from the Abstract Frame Set. Apply Emboss It Ink to the entire surface of the frame. Sprinkle Salted Raven Embossing Powder over the entire frame. Tap off the excess powder and emboss with your heat tool. Let cool for a few minutes before picking up the frame.

Pull out one Wood Small Marked Reindeer from the package. Apply two coats of Brushed Pewter Distress Stain to the reindeer. Set aside to dry.

Take the Noel word out from the Wood Words of Christmas - Noel package. Apply two coats of Candied Apple Distress Stain to the word. Set aside to dry.

From the Snowflakes 712 package, take out two snowflakes. Apply Emboss It Ink to the entire surface of the snowflakes. Sprinkle Charred Gold Embossing Powder over each snowflake. Tap off the excess powder and emboss with your heat tool. Let cool for a few minutes before picking up the frame.

From the same Snowflakes 712 package, pick out another snowflake. Apply two coats of Tarnished Brass Distress Stain to the snowflake. Set the snowflake aside to dry.

Pick one of the large snowflakes out of the Snowflakes 714 package. Apply two coats of Tarnished Brass Distress Stain to the snowflake. Set the snowflake aside to dry.

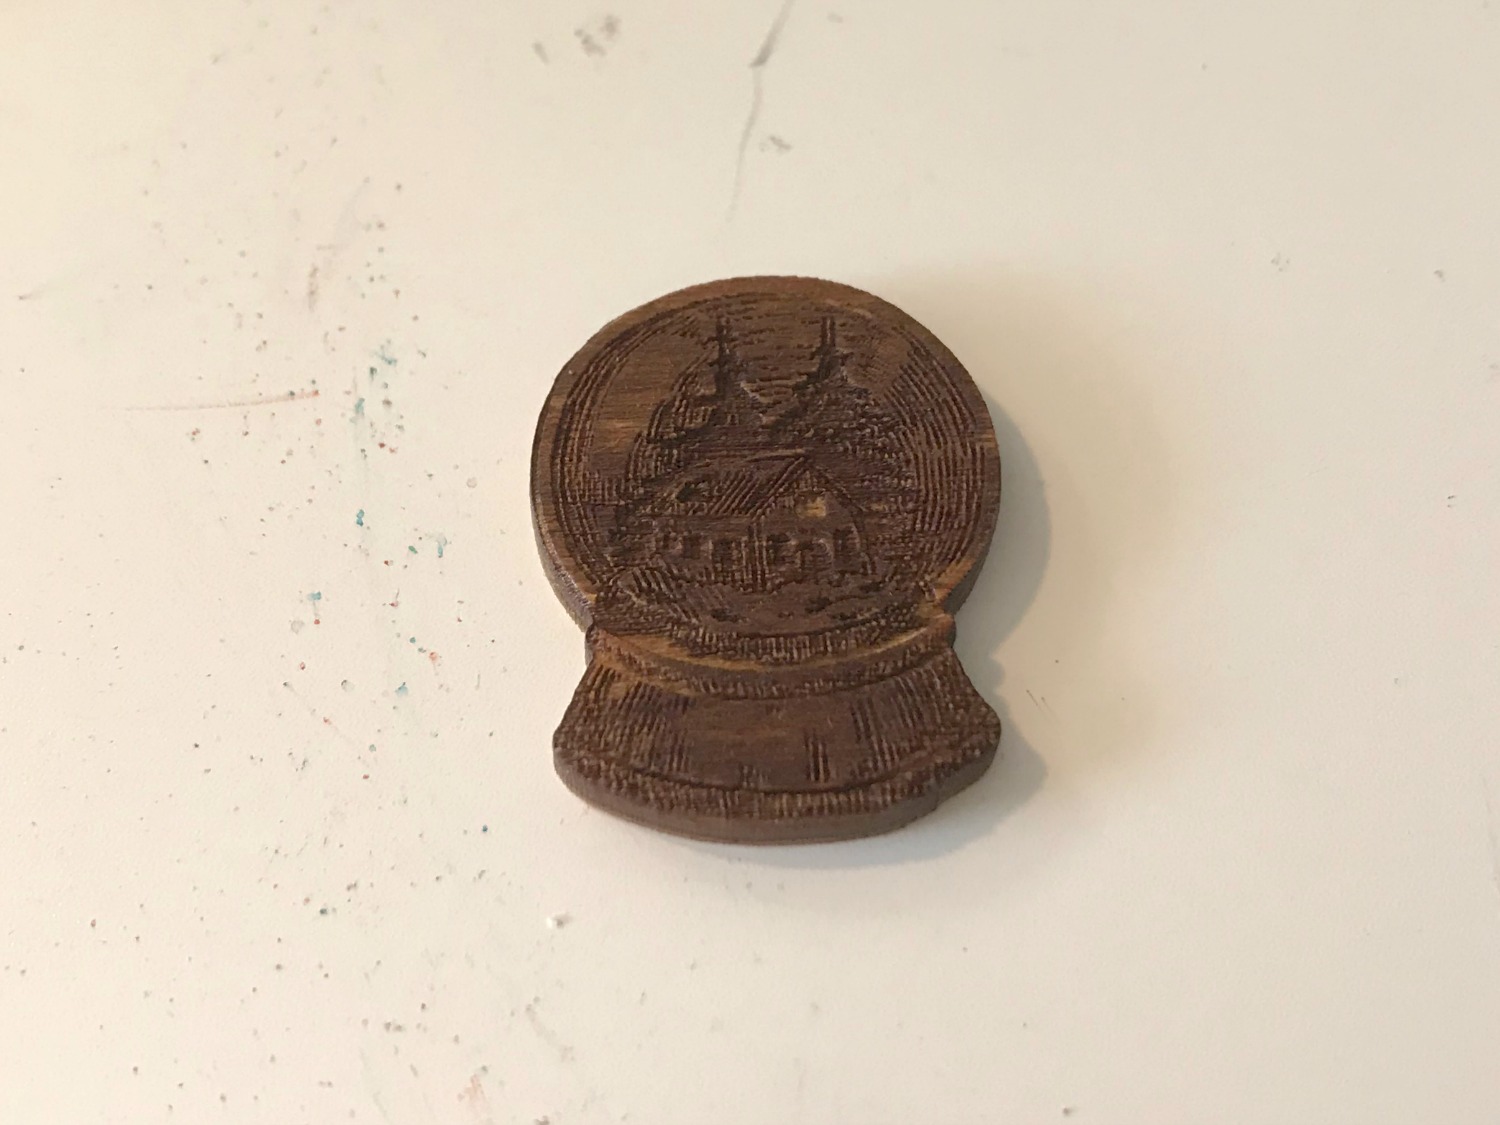
Pull out one of the snow globes from the package. Apply a coat of Gathered Twigs Distress Stain to the snow globe. Set the snow globe aside to dry.
Take out a small star from the Corrugated Stars package. Apply Emboss It Ink to the entire surface of the star. Sprinkle Charred Gold Embossing Powder over the star. Tap off the excess powder and emboss with your heat tool. Let cool for a few minutes before picking up the frame.

Cut two pine branches out of the package. Trim a bit off the branch of each pine branch. Apply two coats of Pine Needles Distress Paint to each pine branch. Set aside to dry.

Now it's time to assemble your tag.
Adhere the patterned paper cut out tag to the chipboard tag. Adhere the smaller patterned paper piece to the tag.

Adhere one pine branch 1/2" from the top of the smaller patterned paper piece. Adhere the other pine branch 1/2" from the bottom of the smaller patterned paper piece. Adhere the abstract frame in the middle of the smaller patterned paper piece. The frame will sit on top of the pine branches.

Adhere the reindeer in the middle of the frame. In the bottom right hand corner of the frame, adhere the large snowflake, corrugated star and noel word.

In the top left hand corner of the frame, adhere the three small snowflakes and snow globe.

To finish the top of the tag, add a black ribbon bow with a few jingle bells and a pinecone hanging from the center of the bow.

Here are a few close up shots of my tag.


Here's the finished tag.

Southern Ridge Trading Company Supplies Used:
- Snow Globe (coming soon)
- Pine Branches (coming soon)
Other Supplies Used:
- Emerald Creek Craft Supplies: Charred Gold Embossing Powder, Salted Raven Embossing Powder and Pinecone Charms
- Tim Holtz/Ideaology: Tiny Bells and Paper Stash - Christmas
- Ranger Ink: Emboss It Ink Dabber
- Tim Holtz for Ranger Ink: Distress Stain - Tarnished Brass, Brushed Pewter, Gathered Twigs & Candied Apple, Distress Paint - Pine Needles, Distress Ink - Black Soot and Blending Tool with Foam
- Tombow: Mono Multi Liquid Glue and Adhesive Dots
Until Next Time!
-Katelyn
No comments:
Post a Comment